Sep 5, 2012
Apr 20, 2012
Design Simple Grungy Text Effect with Custom Brush in Photoshop
Posted By:
Joel V John
on 7:00 AM
In this tutorial, I will show you the steps I took to Design Simple Grungy Text Effect with Custom Brush in Photoshop. This is an beginner level tutorial and I endeavour to explain each step in details. Hope you enjoy it :)
Along the way, we will use some custom brushes and try to apply them to font in order to create unique looking effect. We will also use some basic Photoshop functions such as layer mask, image adjustments and filter effect.
To spread the word about a campaign use Next Day Flyers’ glossy posters, they’re printed fast and the prices can’t be beat.
Here is a preview of the final effect I have for this tutorial: (click to enlarge)
OK Let’s get started!
To complete this tutorial, you will need the following stocks:
Step 1
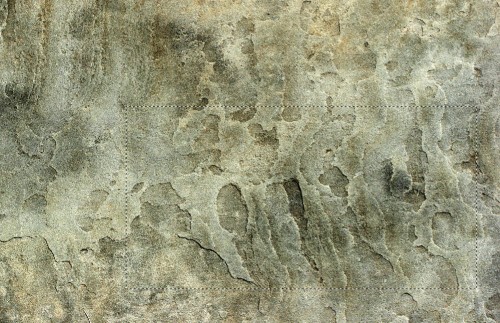
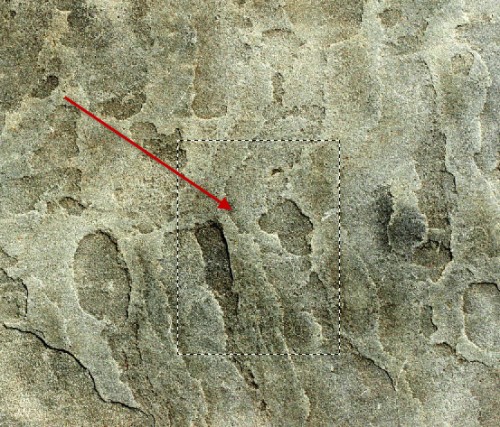
Create a new document with black background (size doesn’t really matter in this tut), load the stone texture into Photoshop, select a portion as shown below:
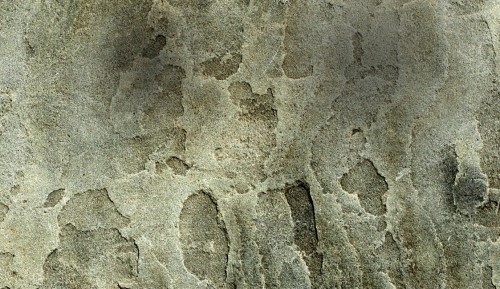
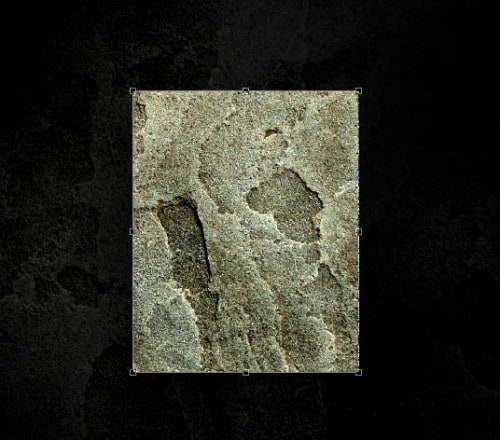
Copy and paste the selection onto our document, resize it to fit our canvas size:
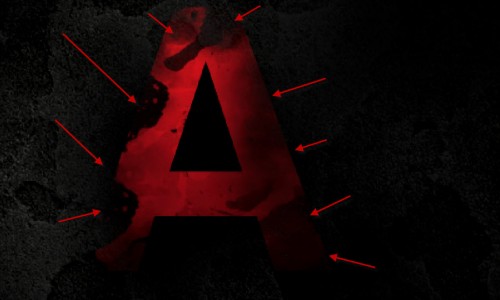
Use a soft eraser, remove the following areas of the texture to add some depth and variety to it:
Step 2
On this background texture layer, add the following 3 image adjustment layers:
Black and White

Levels
Curves
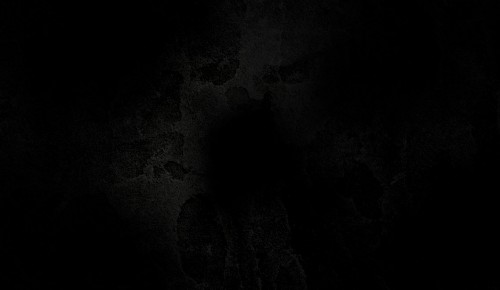
You will have the following effect:
Step 3
Now we can type a red letter onto the canvas – you can use any font you like, doesn’t really matter in this tutorial:
On this text layer, apply the following blending options:
Gradient Overlay
You will have the following effect:

Add a layer mask on this text layer, use the grunge brushes you downloaded as eraser, remove some parts of the text as shown below:
Step 4
We can add some texture over the text as well via a clipping mask. Go back to the stone texture and select a portion as shown below:
Copy and paste the selection over the text, resize it to fit the font size:
Right-click on the stone texture layer and choose “Create clipping mask”, you will have the following effect:

Change the layer blending mode of this text layer to “Color Burn”:
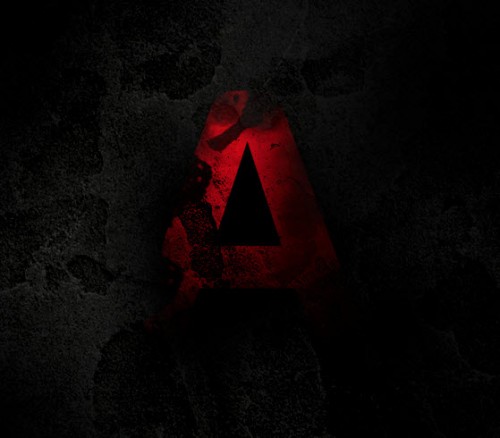
and you will hand the following effect:
Step 5
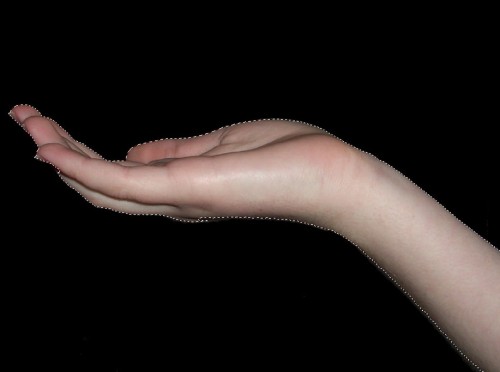
I decided to add a holding hand under the text for some extra effect. Load this hand image into Photoshop, and select it with the magic wand tool:
Copy and paste it onto our document below the text layer, resize it to a smaller scale and slightly rotate it:
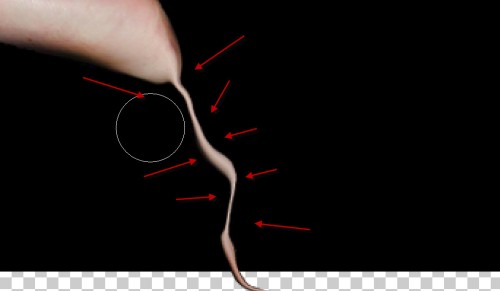
Then, use the liquify filter’s forward warping tool, manipulate the arm portion of the image as shown below:
Also we can erase the following parts of the hand so it blends into the background:
Add the following 2 adjustment layers as clipping mask to this hand layer:
Black and White
Levels

and you will have the following effect so far:

Step 6
Now we can simply create a new layer under the original text layer, select a red colour close to the font colour, and use the custom grunge brushsets we downloaded to paint some pattern around the text:
Hint: Adjust the size of the brush as you paint, don’t use a brush that is too large in size. Use the eraser to remove unnecessary parts.
Once you are done painting, you can duplicate this layer and apply some liquify filter (use the forward warp tool) effect to it:
I then further added some colour and light adjustments and here is the final effect I have: (click to enlarge)

That’s it for this tutorial! Hope you enjoy it and find it useful! Till next time, have a great day!
How to create a grungy text effect
Posted By:
Joel V John
on 6:57 AM
In this tutorial, I will show you the steps I took to Create this Abstract Text Effect with Metal Texture and Cloud Effect in Photoshop. This is an intermediate level tutorial so some steps can be a little tricky, but why not have a try :)
Here is a preview of the final effect I have for this tutorial: (click to enlarge)
OK Let’s get started!
To complete this tutorial, you will need the following stocks:
Step 1
Create a new document sized 700px * 960px with black background. Load the metal texture into Photoshop and select a portion of the image, copy and paste it onto our document, adjust its size with free transform tool so it cover the whole canvas:
Reduce the layer opacity to be around 20%:
Step 2
Apply the following 3 image adjustment layer to this metal texture layer:
Black and White

Levels

Layer mask on the levels adjustment layer: (use a big soft eraser with 70% opacity and flow on this layer mask)

Curves
And you will have the following effect so far:

Step 3
Create a new layer with 20% layer opacity, draw a selection with a 40px feather Lasso Tool as shown below, and render some cloud with the cloud filter in it:

Now we can create some random abstract pattern with the liquify filter. Use the rectangular marquee to draw a selection and fill it with black colour as shown below:
Use the liquify filter’s forward warping tool with the following settings:

Warp it until it forms the following liquid flowing shape:

Then, duplicate this layer a few times, rotate and scatter them around the canvas (adjust the layer opacity of each duplicated layer to create depth):
Optionally, you can invert (Ctrl + I) the colour to white and mix them with the black pattern:
Step 4
Create a new layer and type a letter onto the centre of the canvas as shown below with black colour, drop the layer opacity of this new layer to around 45%:
Add the following gradient overlay setting to this text layer:
Add a layer mask to this text layer, use the splatter brush as eraser and remove some part of the text as shown below:
Hint: you can set the brush flow and opacity to be around 50% and reduce the size of the eraser for a layered effect.
Load the selection of the text layer and move it to the metal texture, select a portion and paste it onto our text:

Again we remove the edges and parts of the texture with a soft eraser and splatter eraser:
Apply the following 3 image adjustment layers as clipping mask for this new metal texture layer:
Black and White
Levels

Curves
and here is the effect so far:

Step 5
Now let’s blending this text into the background. Firstly, we can render some cloud (using the method mentioned above) on the bottom of the text and compress it down as shown below, this will form a ground texture:
Create a new layer with 50% layer opacity, again render some cloud above the ground:

Create another new layer with 30% opacity, render some cloud over the text as shown below:
Now you can use the splatter brush downloaded, add some decorative painting around the text:
Use a soft eraser to remove the edges of the painting so they fade into the background to add more depth to the image:
Optionally, you can add some abstract black pattern from the previous step over the text, as well as some flying particle with the debris brush downloaded:
Step 6
OK we’re almost done! For some final adjustments, we can flatten the image, duplicate this background layer once and apply the following High Pass filter setting to the duplicated layer:
Change the layer blending mode of this new high pass layer to “Hard Light”, you will find you parts of the image being slightly sharpened:

You can also add some cloud warp into the image to create some motion effect: (check out this tutorial to learn this technique)
Adjust the levels of the ground and the background a little with the levels adjustments tool, this will create a floating effect and more depth for the image:

You can then apply some colour effect onto the image via either colour balance adjustment layer, or use soft brush to paint on a new layer (with layer blending mode set to “colour” or “overlay”). I will leave the choice of colours to you, but below is my colour combination (I decided to apply an ancient, rusty theme to the text)
That’s it for this tutorial! Hope you enjoy it and find it useful :) Till next time, have a great day!
Subscribe to:
Comments (Atom)


