OK Let’s get started!
To complete this tutorial, you will need the following stocks:
Step 1
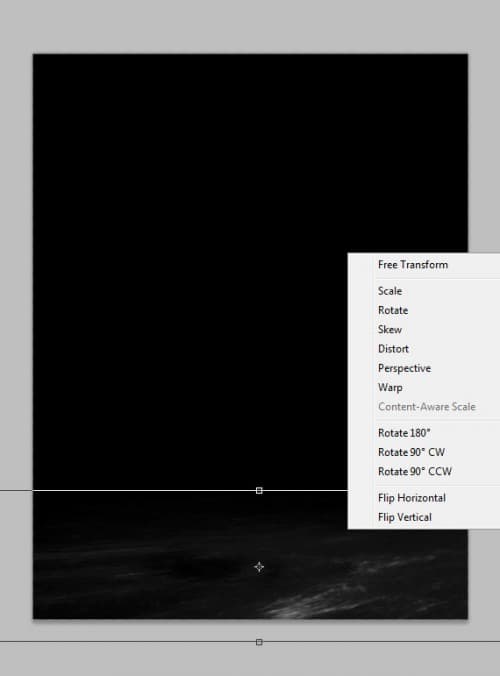
Create a new document sized 800px * 1040px with black background. Create a new layer and use the space brush to paint a background pattern, compress it down and set some perspective to it as shown below:
Create a new layer and further add some space pattern, reduce the layer opacity to around 80% and use a soft eraser to erase the centre portion as shown below:
Hint: by performing the above two things, we added some depth to the image and get ready for adding the text in the following step.
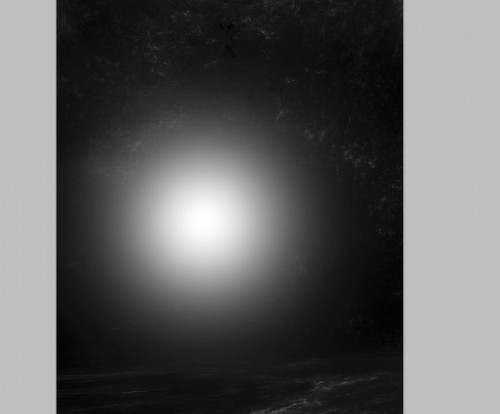
Let’s add some simple light effect – create a new layer and use a big white brush to paint a dot light as shown below:
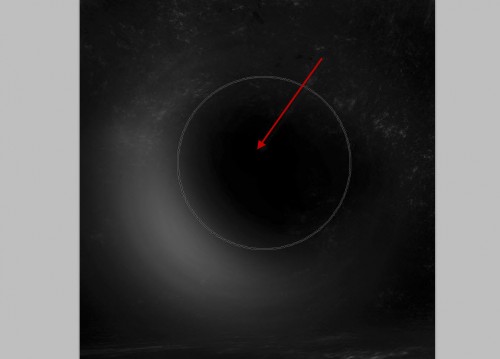
Use a soft eraser with smaller brush size than the dot light, erase the top right part of the dot as shown below:
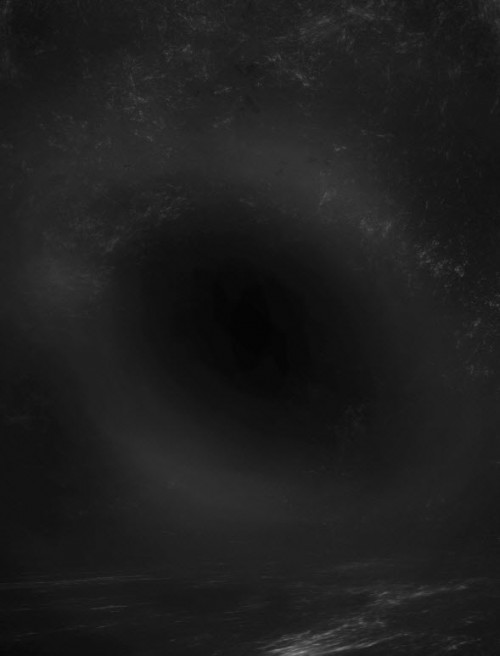
Duplicate this layer and rotate the duplicated layer 180 degrees, you will have the following effect:
Step 2
We can now work on the letter. Type a letter on the centre of the canvas, as shown below:
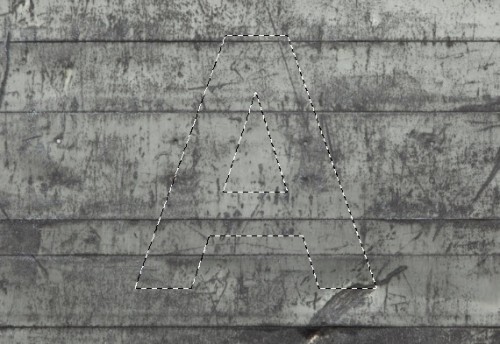
Load the “metal texture 1″ image into Photoshop. Then load this text layer selection and move it to the metal texture, copy and paste it back onto our text:
Turn off the original text layer, and you will have the following effect:
Open up the liquify filter, grab the forward warping tool and make sure you enable “Show Backdrop” and use the following setting: (this will make the background visible, easier to apply the liquify effect)
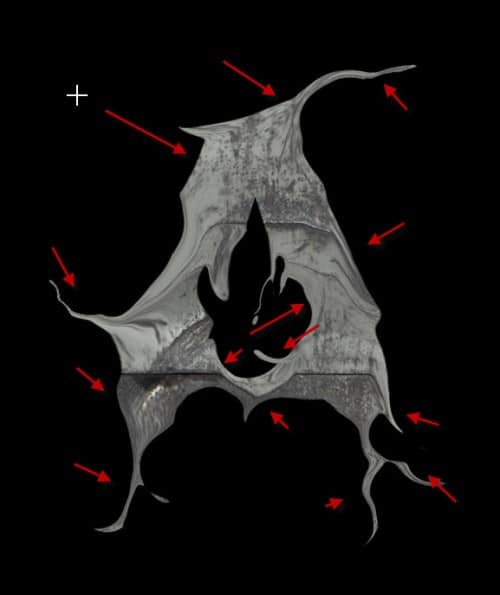
Go crazy with the liquify tool, add some flowing effect around the text edges as shown below:
Then erase the following area with the a soft eraser:
Step 3
We can now apply some adjustments layers on the metal texture as clipping mask:
Black and White

Levels
Curves
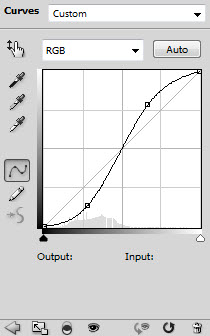
Then use the Lasso Tool with 30px feather, draw a selection on the following area:
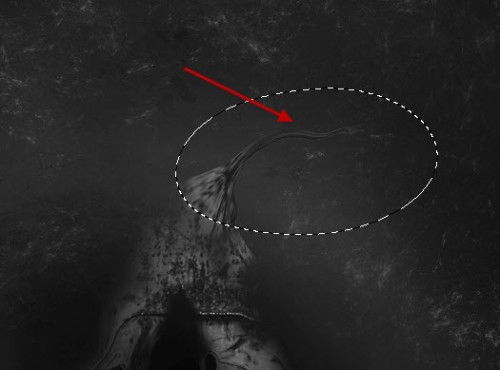
Then add another Levels adjustment layer as clipping mask: (this will darken the Lasso Selection)
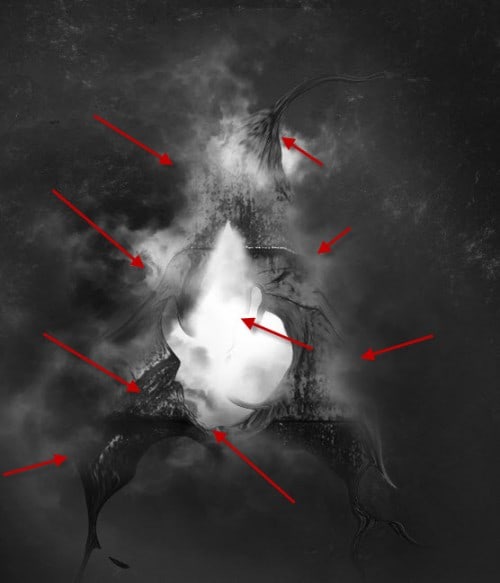
Render or paint some cloud (with cloud or smoke brush, plenty of them on the internet) around the text to add dramatic effect:
Step 4
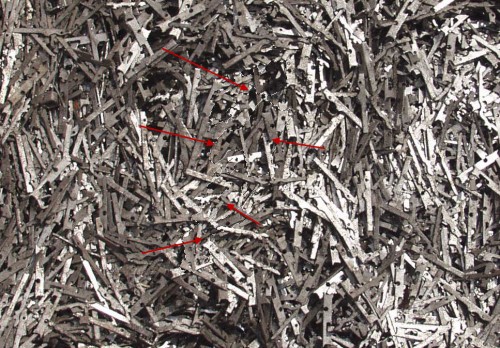
We can now add some small metal particles into the image – load the “metal texture 2″ image into Photoshop and use the quick selection tool to select a few small pieces on the image:
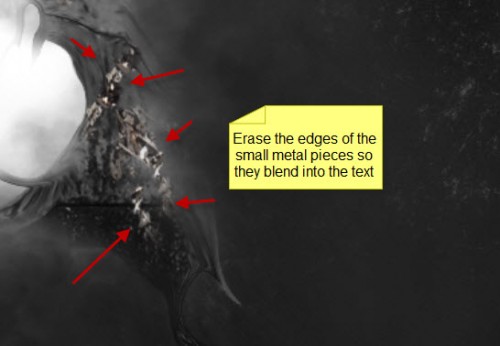
Copy and paste the selection onto our document, erase the edges to blend those small pieces into the main text:
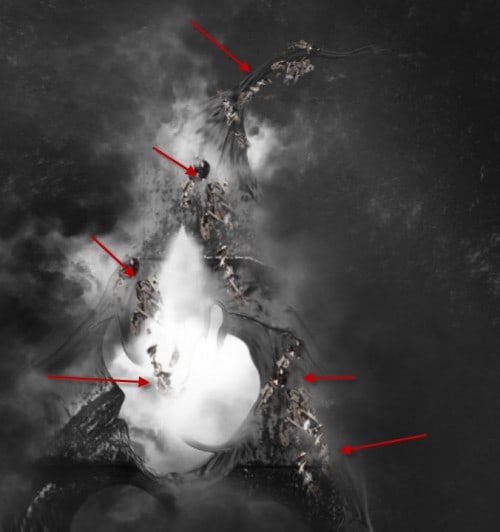
Duplicate the selection a few times, attach them to different parts of the text, as shown below:
Merge the duplicated layers and apply the following black and white adjustments to it:
and here is the effect so far:
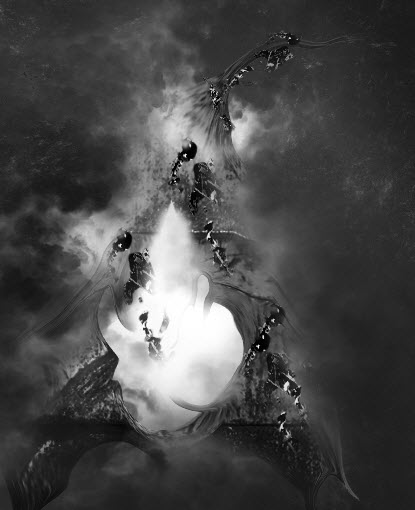
You can also further duplicate this metal texture layer a few more times, resize them to small scale and move them around the text, as shown below:
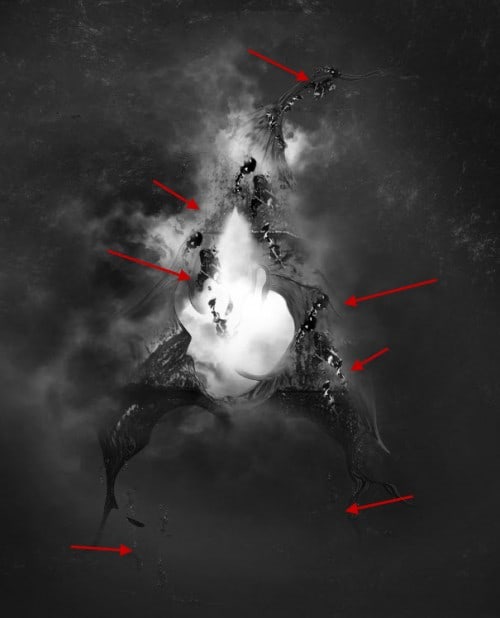
Step 5
To add some extra effect, I decided to use the Pen Tool to draw some red lines around the text. So let’s use the Pen Tool to draw a work path as shown below:
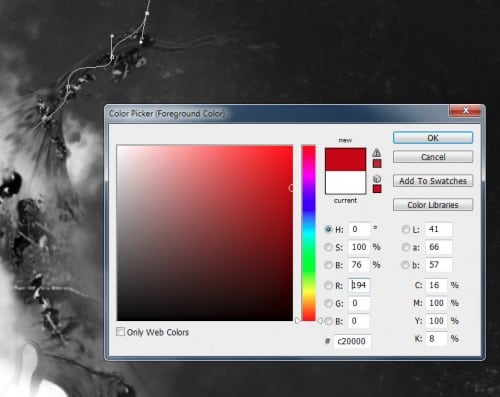
Prior to stroking the path, go to the brush panel and set the brush size to 3px, hardness 95%, red colour as shown below:
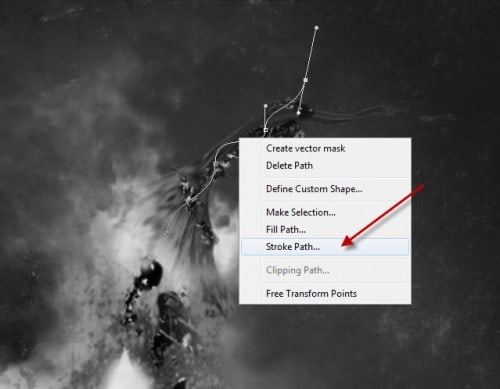
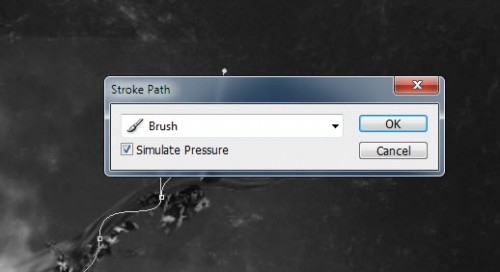
Then go back to select the Pen Tool, right-click and choose “Stroke Path”:
Stroke this path with the following settings:
and you will have the following effect:
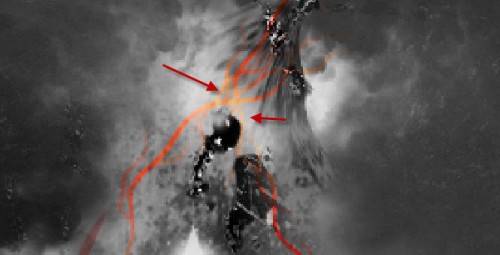
Duplicate this line layer a few more times and resize each duplicated layer and rotate them, attach the lines to different part of the text:
You can also mix some yellow lines via adjusting the Colour Hue, in order to add some variety on the text:
Step 6
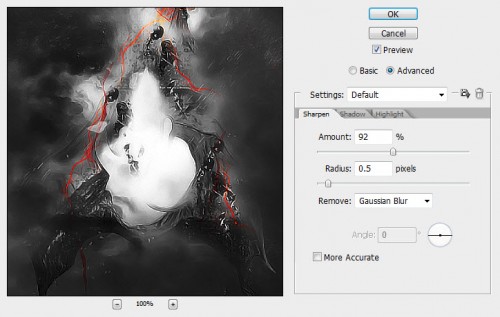
OK we’re almost done! For some final retouches, we can flatten the image and apply the following Smart Sharpen filter to the image to sharpen the text a bit:
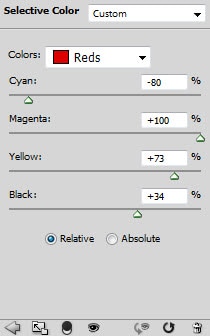
To add some colour effect to image, I apply the following image adjustment layers to the image:
Selective Color
Curves
Brightness and Contrast
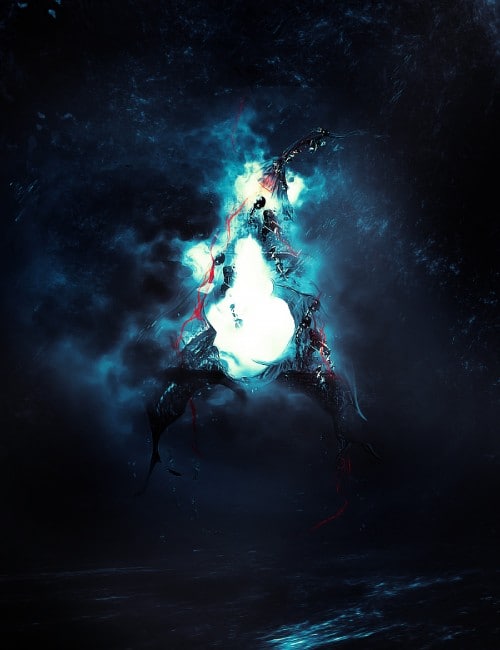
I then further added some slight colour adjustment and here is the final effect I have: (click to enlarge)
That’s it for this tutorial! Hope you enjoy it and find it useful! Till next time, have a great day!















0 comments:
Post a Comment